Links for downloading software used in the MSBA Program are provided below as well as instructions for installation.
You will need to establish a Google Account through William & Mary in order to download some of the installation files. For those files downloaded from Google Drive you will be asked to log in, at least for the first download. Here is the link to set up your G-Suite with WM.
Click on the "Login" button at the top of the page and sign in using your credentials, email address, and password.
Click on at the top of the page.
Click on
Click on
Choose the most recent x64 Windows (64-bit) version, for example, Gurobi-9.5.2-win64.msi.
Save the download file to your hard drive and remember the folder location. (Alternately, Google Chrome will provide an icon on the left-bottom corner of the browser for you to click on to run the .msi program file.)
Run the msi file to complete installation. NOTE: Do not change the default installation location. This will prevent problems with Python finding Gurobi later.
STOP: Restart your computer before proceeding.
WARNING: THE FOLLOWING STEPS FOR SECURING A LICENSE KEY MUST BE DONE WHILE LOGGED ON TO THE WILLIAM & MARY NETWORK.
When the page refreshes, highlight and copy the command that looks like the following, although your code will be different than the code shown here:
grbgetkey 27eb9260-1cd3-300b-504d-57e1e1309f62
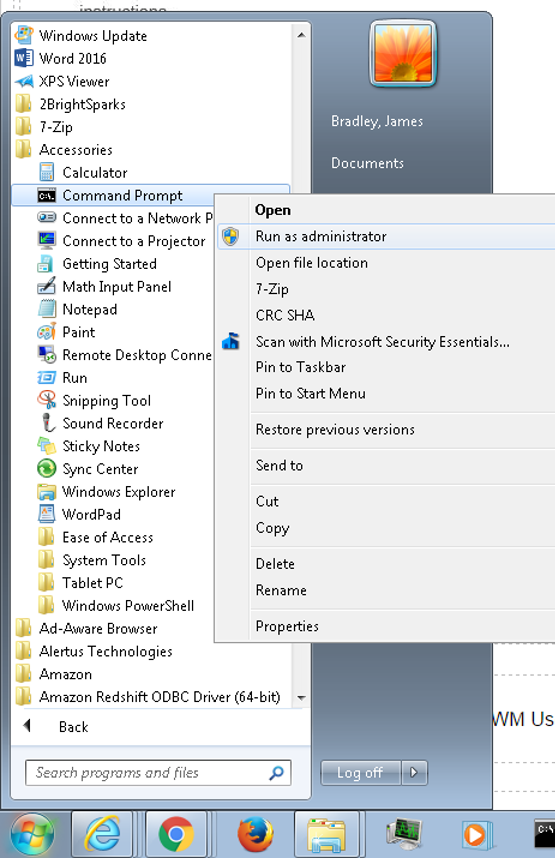
As shown below, go to the Windows Start button, and in the Accessories folder right-click on "Command Prompt" and "Run as Administrator"
Click "Yes" when asked if it is okay for this program to make changes to your computer.
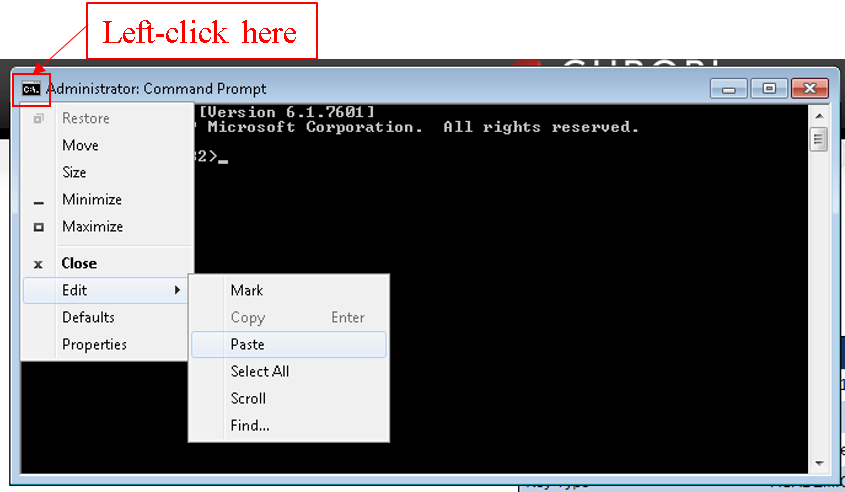
In the Command Prompt Window, left-click on the upper-left corner of the window and choose Edit>Paste as shown below:
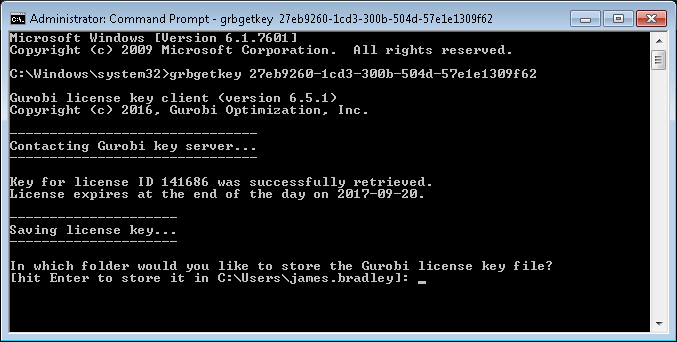
Then, hit the Enter key. You will see messaging on your screen similar to that shown below.
Do not change the default installation location, or Gurobi may not be able to find it.
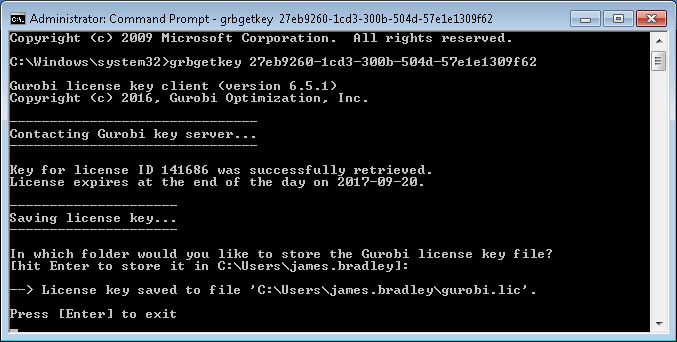
Hit Enter to accept the default location for the license key file. Finally, hit Enter to exit when you see the screen below:
Congratulations... you have finished installing and licensing Gurobi!
Microsoft Office (64 bit)
Download and installation
Go to https://getoffice.wm.edu and login using your WM UserID and password. Click “Other installs” underneath the “Install now” button. Under “Version” click the “Advanced” button and select “64-bit” from the drop down menu then click Install.
MySQL Server and MySQL Workbench
Installation
Instructions for installing MySQL Server and Workbench will be provided by your Optimization or Database instructor. You can download the installation file for Windows here.
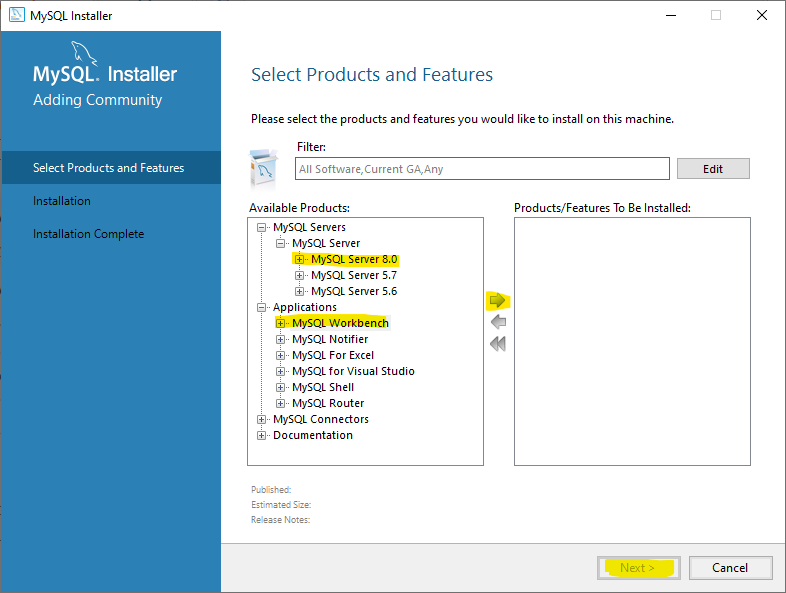
Run the installation package. On the screen, click "Add..."
Add the following two products and click Next. (Do not change the default settings or paths.)
Python (Anaconda)
Installation Instructions
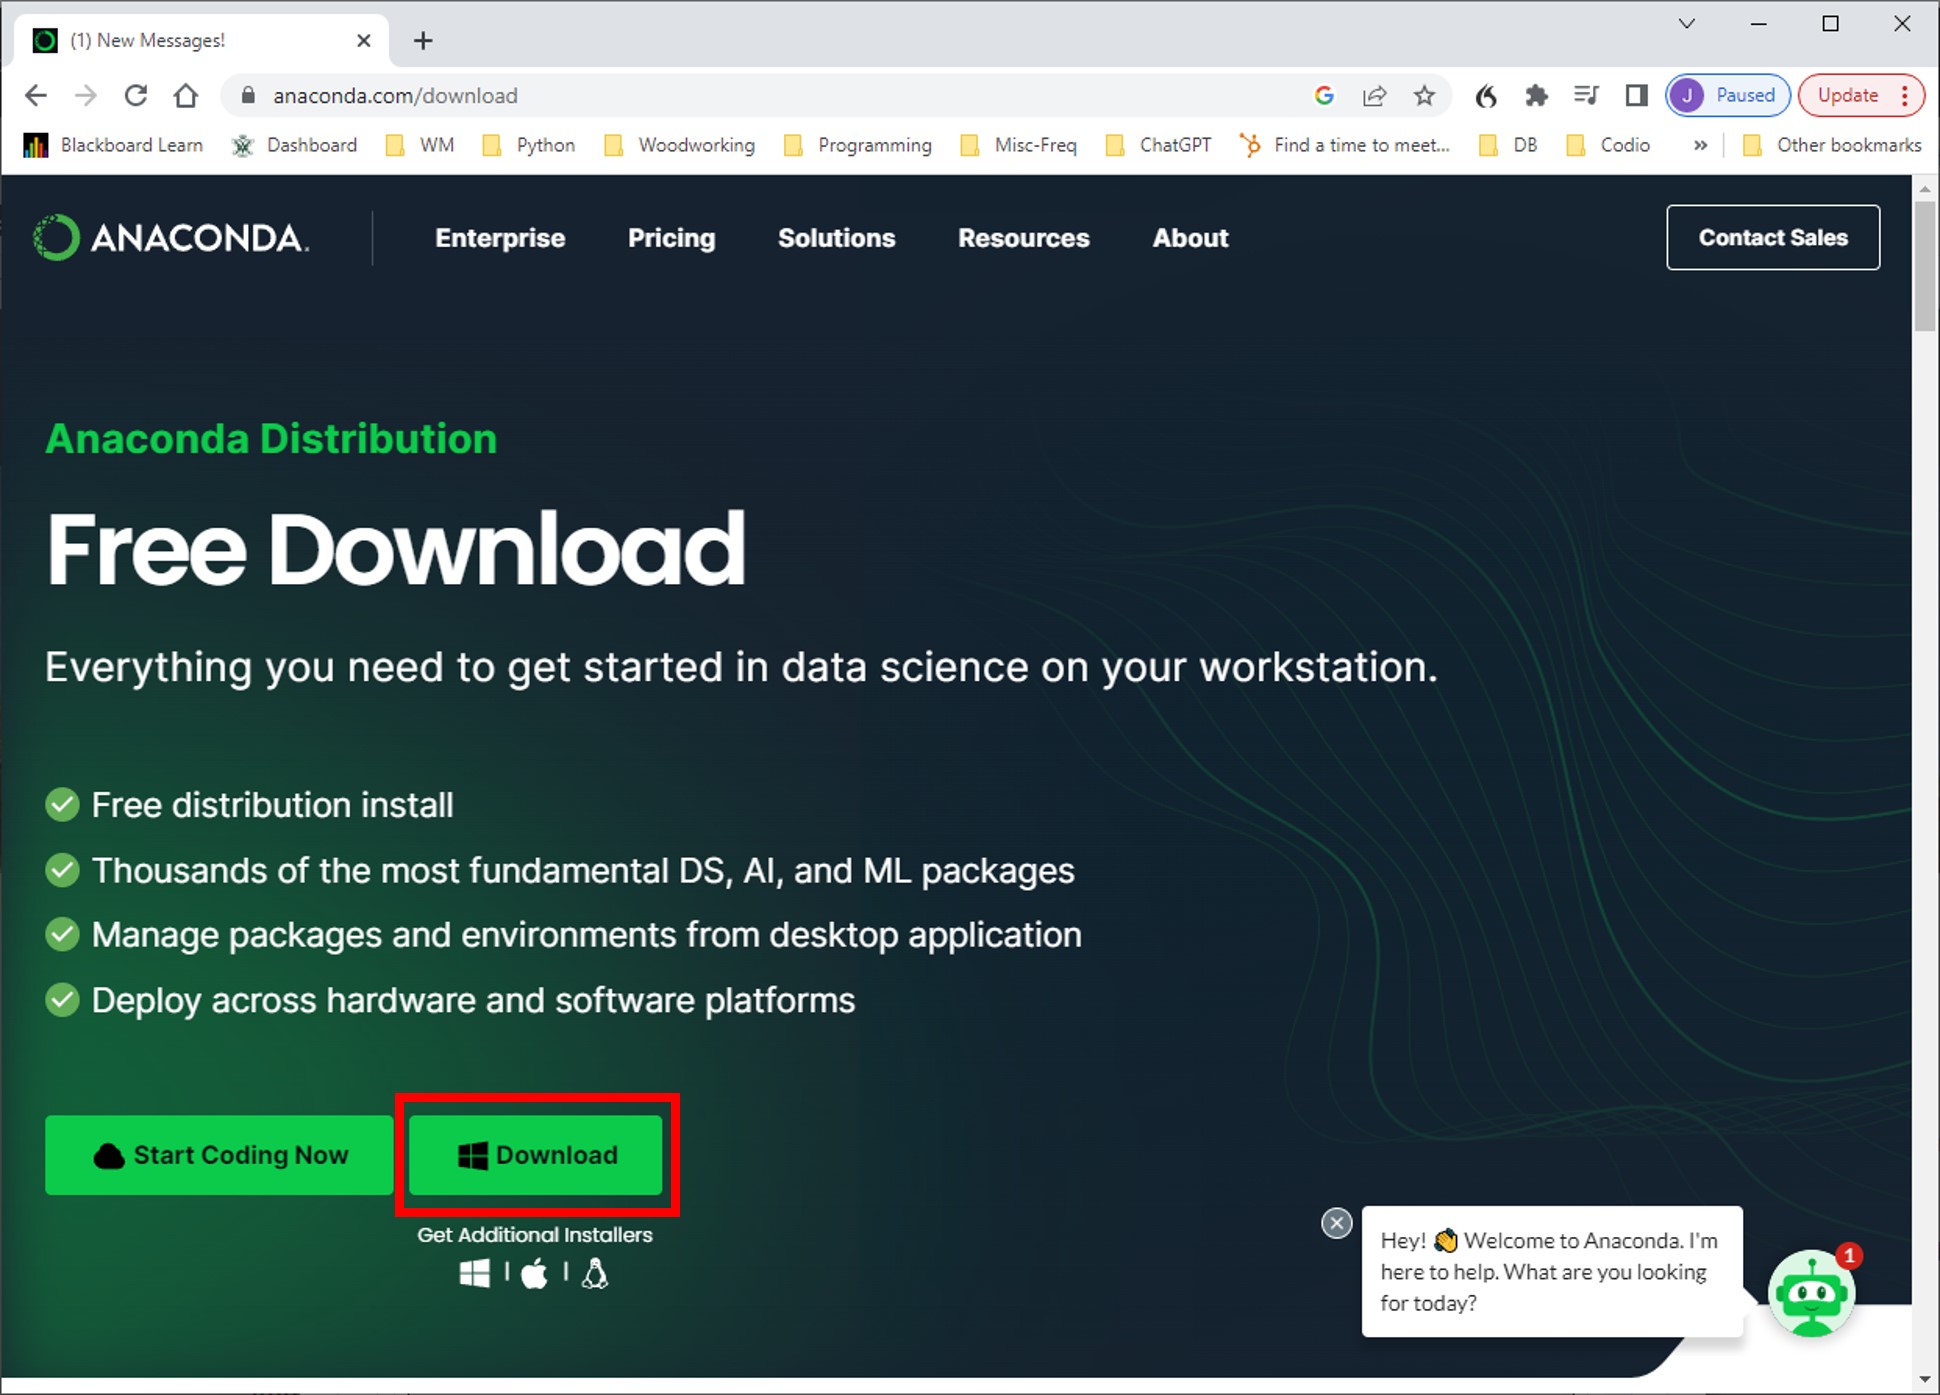
Click here to navigate to the site for downloading Anaconda, which will take you to this page:
Click on "Download" as indicated in the image above by the red rectangle.
Run the downloaded .exe file accepting all default configuration settings.
You can safely ignore any pop-up windows or a final screen, if one appears, asking you to enroll for something. You don't need to sign up for anything else for the Anaconda distribution to work.
Python-Gurobi API
Installation Instructions
You must first install Anaconda Python before installing the Python-Gurobi API. See those instructions above.
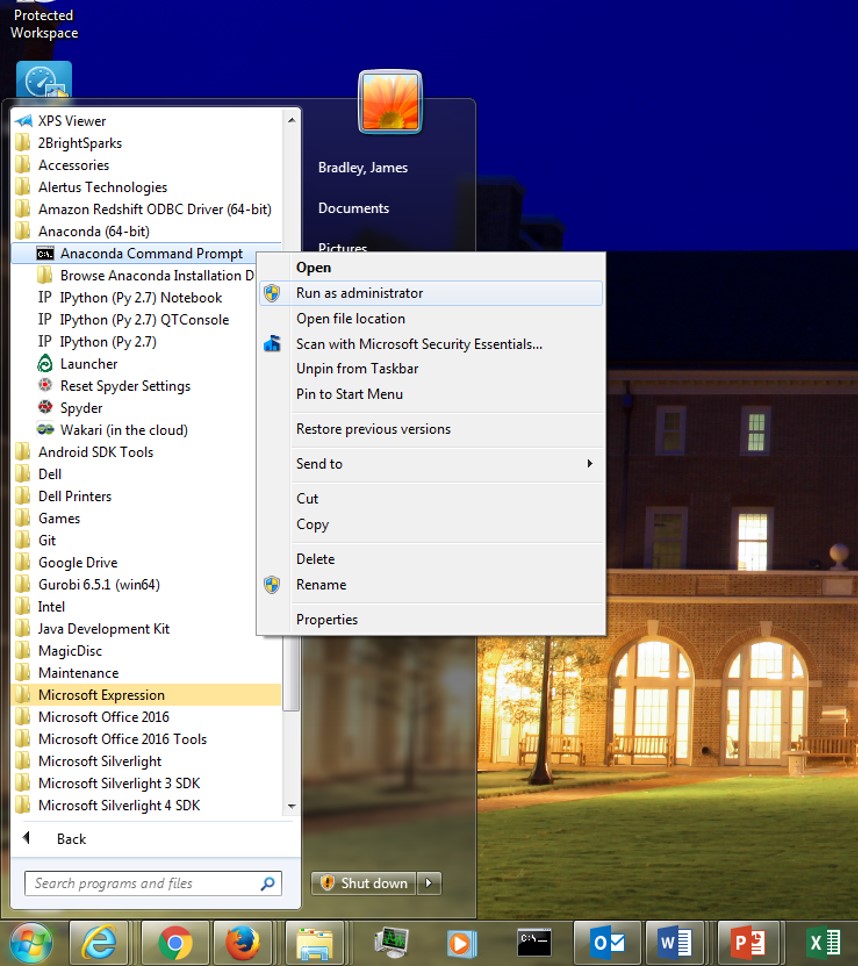
As shown in the image below find the "Anaconda Command Prompt" within the Anaconda folder. In Windows 8 and Windows 10 this application might be named "Anaconda Prompt." Right click on it and "Run as Administrator."
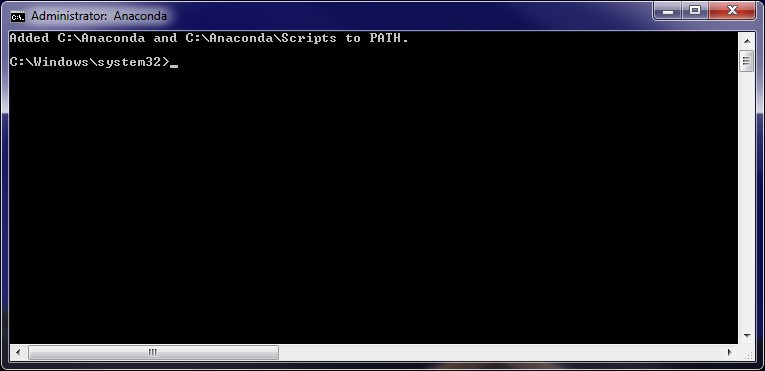
Your will see a command prompt window as shown below.
Either (1) type the following command in the Anaconda Command Prompt window or (2) copy the text below and right-click on the upper left corner of the Anaconda Prompt window to paste the text into the prompt using Edit>Paste:
Type the following command in the Anaconda Prompt window, or copy and paste the text into the Anaconda Prompt window, and hit "Enter":
conda install gurobi
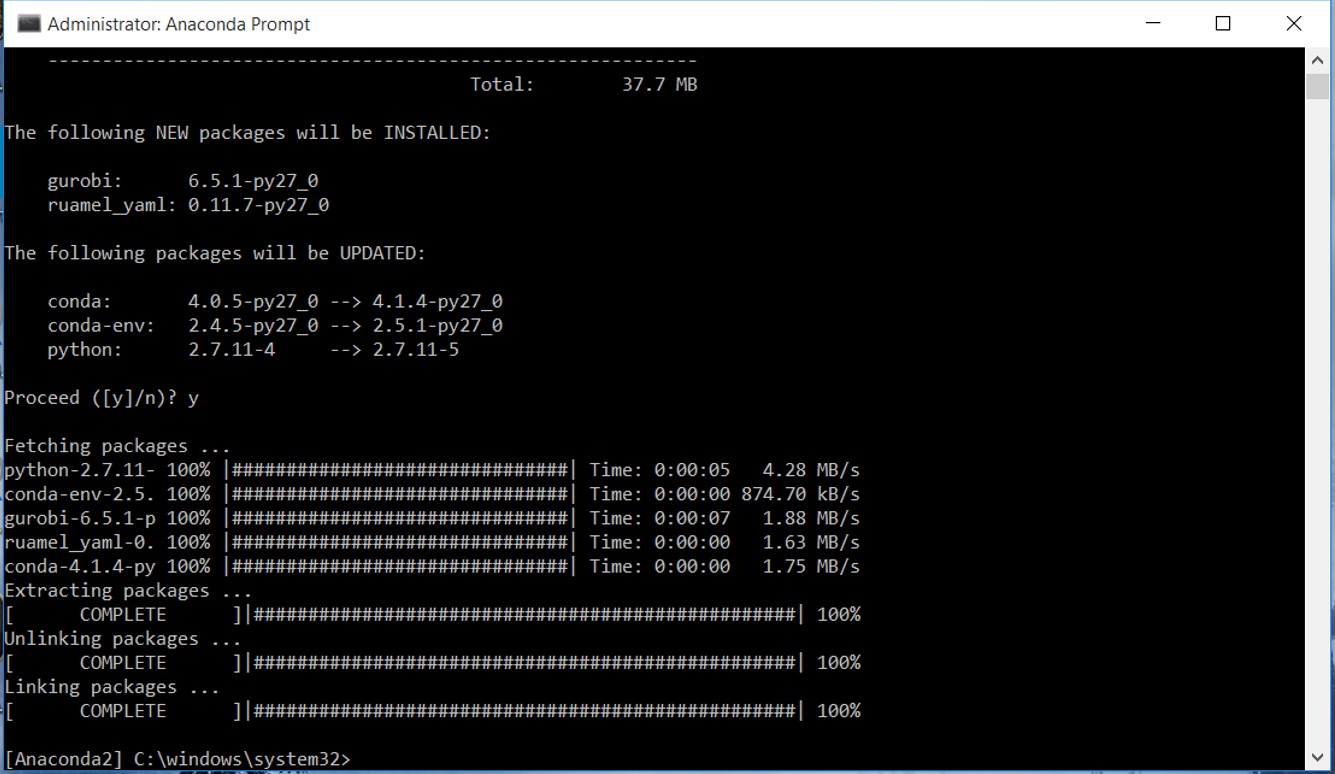
After executing this command you will be asked if you want to proceed with installation. Respond by just hitting "Enter" or by typing "y" followed by "Enter."
You will see a list of output in the Anaconda Prompt window documenting the installation progress. At its conclusion your command prompt window will look similar to the image below.
Installation is complete. You may close the Anaconda Prompt window.
Python-MySQL Connector
Installation Instructions
You must first install Anaconda Python before installing the Python-MySQL Connector. See those instructions above.
As shown in the image below find the "Anaconda Command Prompt" within the Anaconda folder. In Windows 8 and Windows 10 this application might be named "Anaconda Prompt." Right click on it and "Run as Administrator."
Your will see a command prompt window as shown below.
Type the following command in the Anaconda Command Prompt window and hit "Enter":
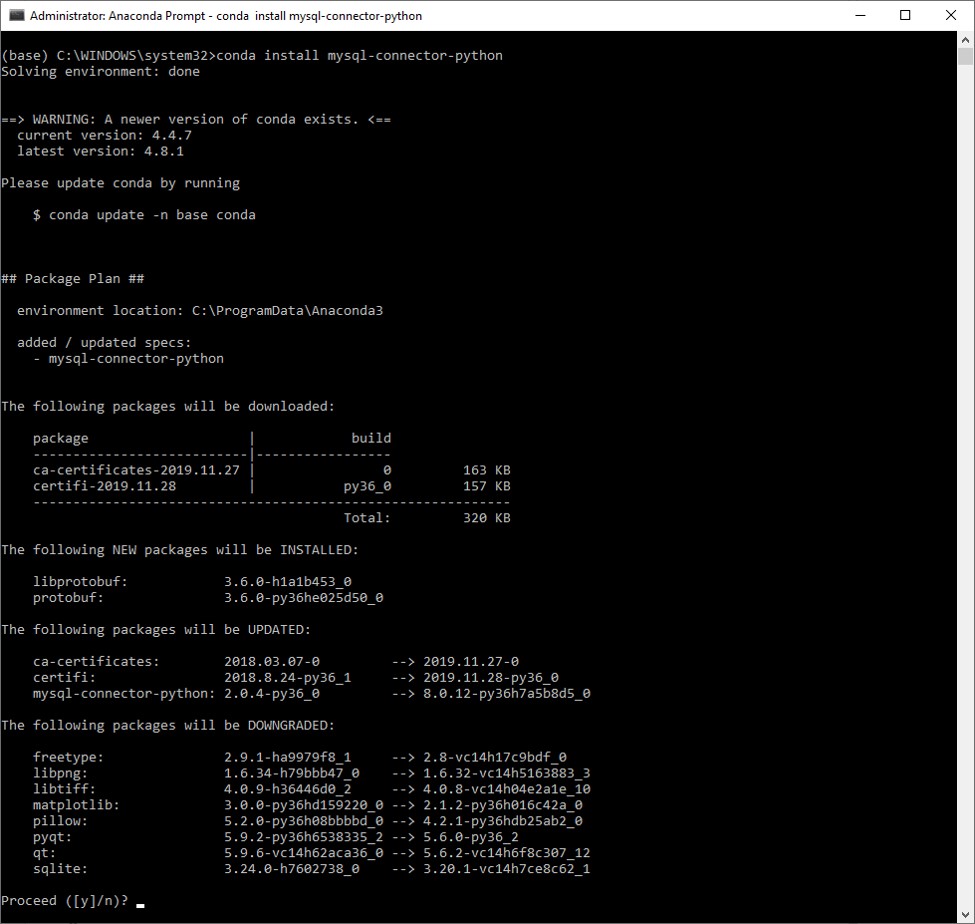
conda install mysql-connector-python
After executing this command you will see many lines of output similar to the screen shown below. Your output will not be exactly the same, however, because it depends on which packages and versions you have currently installed. The last line will ask you if you want to proceed with installation. Respond by just hitting "Enter" or by typing "y" followed by "Enter."
You will see a long list of output in the Anaconda Command Prompt Window documenting the installation progress.
Installation is complete. You may close the Anaconda Prompt.
R
Your instructor for R Boot Camp, Advanced Probability and Statistics, or Machine Learning 1 will give you instructions to install R.
To install R version 4.x, click here and choose your operating system.
If you want to install the RStudio IDE in advance, please go to: https://rstudio.com.